
Fridley (763) 213-5458
Timberline Handyman Services
Caulking and Sealing in Fridley

Fridley Local

Caulking and Sealing in Fridley

Stopping water and air infiltration before Minnesota winters turn a small gap into a big repair.

Call or text (763) 213-5458

Request an estimate

Tell us what you need
No obligation · Responds within 1 business day


By submitting this form you agree that we may contact you about your request and share your details with partner companies for marketing purposes.

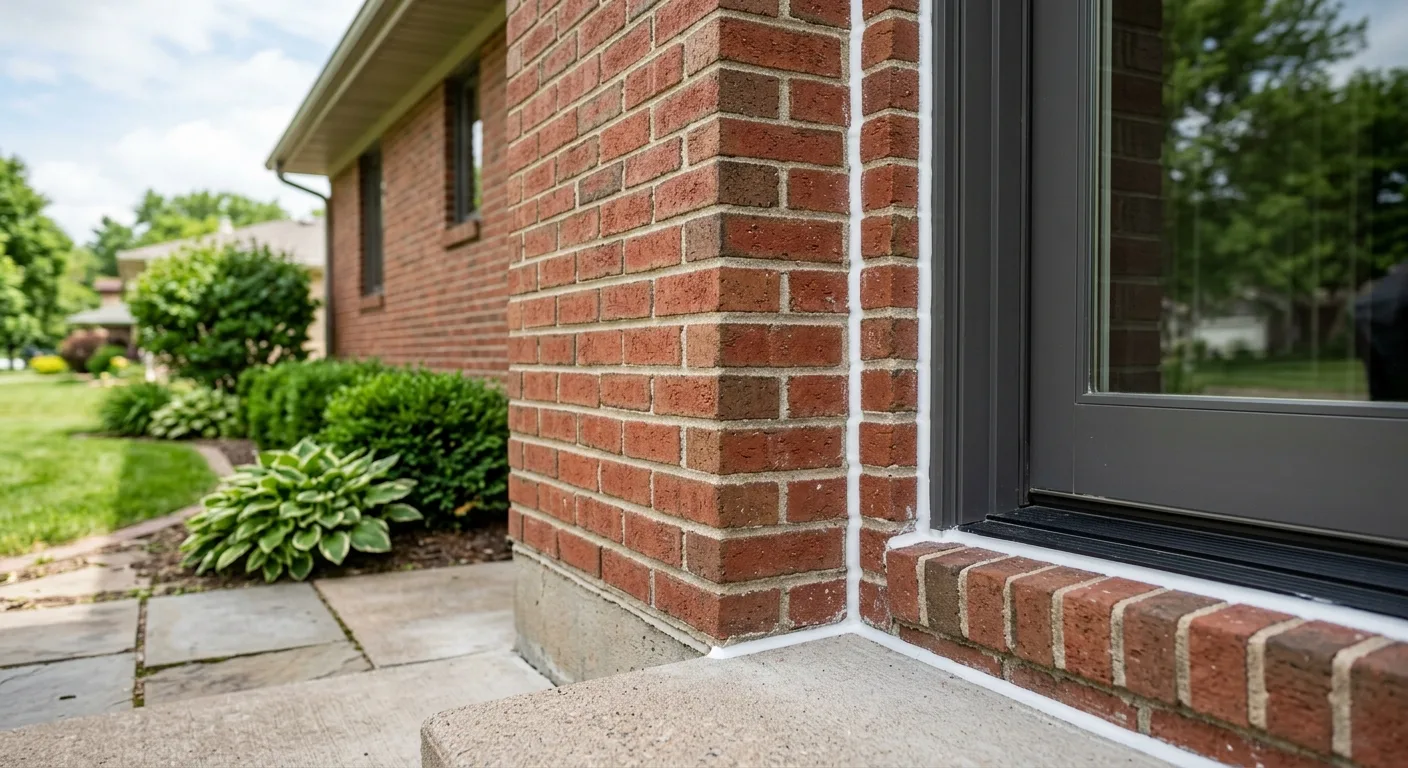
silicone work, professional service in Fridley, MN

Fridley Caulking and Sealing That Holds

Timberline Handyman Services provides professional caulking and sealing in Fridley and across the north Minneapolis metro, closing the gaps and joints that let water in, warm air out, and heating bills climb. After 16 years working on mid-century homes in this area, I can tell you that most of the moisture damage I see traces back to one thing: sealant that was applied wrong, applied over old caulk that wasn't removed, or applied with the wrong product for the surface. Call (763) 213-5458 and I'll tell you straight what your home needs.

Good caulking work starts before the tube even opens. The old material has to come out completely, the surface has to be clean and dry, and on porous materials like wood trim or masonry, a primer or backer rod may need to go in first. Skip those steps and the new sealant fails in a season. What drives cost on a caulking job is mostly scope: a single bathroom tub surround is a couple hours of work, while a full exterior perimeter on a 1960s ranch with failing window glazing, deteriorated door frames, and open siding joints is a different project entirely. Material choice matters too. Silicone holds up best on non-porous surfaces like glass and ceramic tile; paintable latex acrylic is right for interior trim; polyurethane and hybrid sealants handle exterior wood and masonry where movement and UV exposure are factors. Every job is different. Contact Timberline Handyman Services for an accurate estimate.

Why It Fails

What Goes Wrong With DIY Caulking

The product is cheap. The prep work is where most homeowners cut corners.

I've re-done a lot of caulking jobs that were done wrong the first time. The pattern is almost always the same: someone ran a bead of latex caulk over existing, cracked silicone, it looked fine for two months, and then peeled by spring. Silicone won't bond to silicone. Neither will latex. If the old material isn't fully stripped, nothing you put over it will stick for long. Minnesota's freeze-thaw cycle makes this worse than it would be in a more forgiving climate. Joints expand and contract hard here, especially on exterior window frames, foundation sills, and anywhere wood meets masonry. A bead that's too thin, too thick, or not tooled into the joint properly won't move with the structure. It cracks, separates, and water finds the gap. By the time you see a stain on the drywall, the damage has been building for months. I don't recommend DIY caulking on anything exterior, anything that's already shown water infiltration, or any surface where the old product type is unknown. Interior applications like a bathroom tub or a window interior are manageable for a careful homeowner. Exterior perimeter sealing on an older home? That's where it pays to have someone who knows what they're doing.
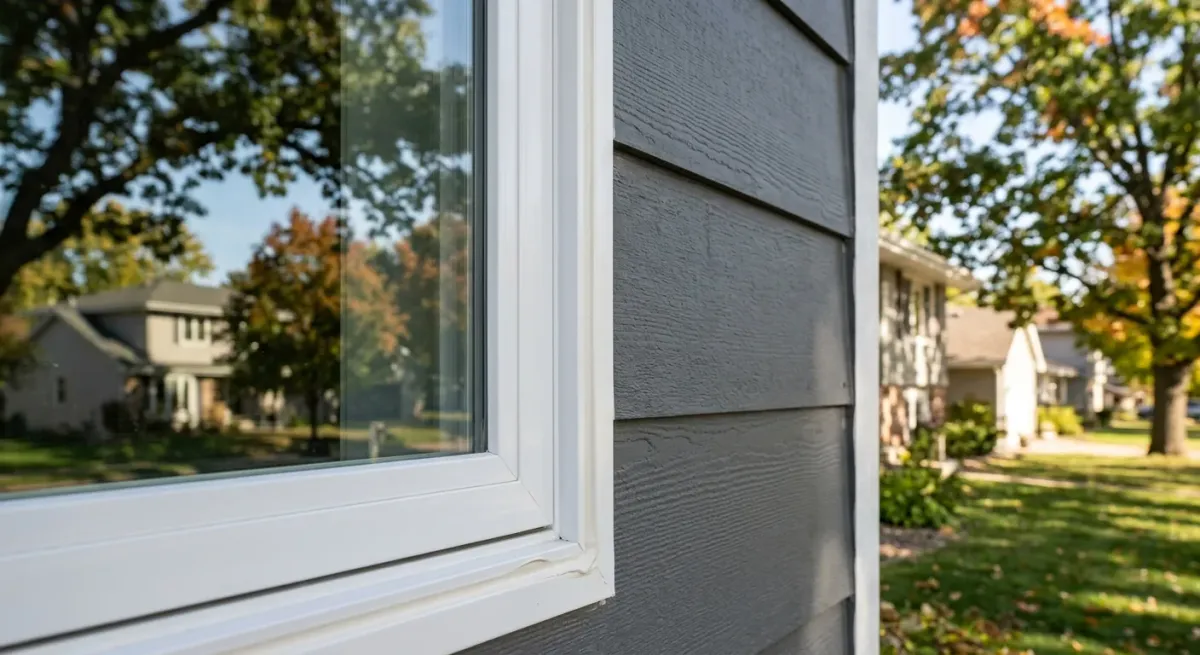
silicone work, professional service in Fridley, MN

Products

Choosing the Right Sealant for the Job

Silicone

Best on non-porous surfaces: glass, ceramic tile, metal. Highly flexible, fully waterproof, and holds up to temperature swings well. Can't be painted, and it won't bond over itself, so removal before reapplication is mandatory.

Paintable Latex Acrylic

The right choice for interior trim, baseboards, and crown molding where you need the bead to disappear under paint. Easier to tool and clean up than silicone, but not suited for wet areas or exterior joints.

Polyurethane

The workhorse for exterior wood and masonry joints. It bonds aggressively, moves with the material, and holds up to UV and moisture. Harder to apply cleanly, but the durability is worth it on siding, window frames, and foundation seams.

Hybrid Sealants

Silicone-latex or urethane-latex blends that offer paintability with better flexibility than straight latex. Useful in situations where you need both finish compatibility and joint movement. Newer products in this category have improved significantly.

Foam Sealant

For larger gaps around pipes, penetrations, and rough framing openings before trim goes on. Not a caulk in the traditional sense, but part of the air sealing picture. Expanding foam fills voids that a bead of caulk can't bridge.

Our Process

How Timberline Approaches a Sealing Job

Every caulking job I take follows the same sequence, regardless of where it is in the house.

  1. Remove and Prep

    All old sealant comes out first. That means a utility knife, an oscillating tool where needed, and a clean surface before anything new goes on. On exterior masonry or wood, that may mean a wire brush and a cleaning step.

  2. Select and Apply

    Right product for the surface and the exposure. Backer rod goes in on any joint wider than a quarter inch. The bead is applied at the right depth-to-width ratio, then tooled while wet to press it into the joint walls.

  3. Cure and Inspect

    Most sealants need 24 to 48 hours to fully cure before water contact. I go over the work before I leave and point out anything adjacent that's likely to become a problem in the next season or two.

Where Older Fridley Homes Need Sealing Most

The mid-century homes in Fridley and Columbia Heights were built in a different era. Insulation standards were different. Window technology was different. And after 50 to 70 years, the original caulking is long gone on most of them. The spots I check first on homes from this era: the perimeter of every exterior window and door frame, the joint where siding meets trim, the foundation sill plate where wood meets concrete, any plumbing or electrical penetrations through exterior walls, and the roof-to-wall transition on additions or dormers. These are the places where ice dam damage starts and where conditioned air escapes all winter. Properly sealing these areas doesn't just stop water. On a cold Minnesota winter, air sealing an older home's perimeter can make a measurable difference in heating load. It's not insulation, but it's the kind of work that door weather stripping and window caulking do together: close the envelope. For homes with wood staining and sealing needs on decks or exterior trim, the caulking work usually pairs naturally with the finishing step. I can handle both in the same visit.
silicone work, professional service in Fridley, MN

What Timberline Covers on a Sealing Job

Exterior window and door perimeters

Bathroom tub and shower surrounds

Kitchen backsplash and sink joints

Siding-to-trim and siding-to-foundation joints

Interior trim gaps and baseboard seams

Foundation wall and sill plate sealing

Plumbing and utility penetrations through exterior walls

Deck ledger board and post base sealing

Seasonal Timing for Sealing Work in Minnesota

Spring

Ideal for exterior perimeter sealing after freeze-thaw damage. Inspect window frames, door surrounds, and siding joints for winter movement gaps before spring rain season.

Summer

Best curing conditions. Good window for deck ledger sealing, foundation work, and any exterior masonry joint that needs polyurethane or foam.

Fall

Last call for exterior sealing before temperatures drop. Prioritize air sealing at penetrations and sill plates to reduce heating loss through the winter.

Questions About Caulking and Sealing

What's the difference between caulk and sealant, and which one do I need?
Caulk is the broader category. Sealant typically refers to high-performance flexible products designed for joints that move or are exposed to water and weather. For a bathroom tub, you want a waterproof sealant, not basic latex caulk. For interior trim gaps before painting, paintable latex caulk is the right call. The material choice depends on the surface, the moisture exposure, and whether you need to paint over it. Using the wrong one is the most common reason caulking fails early.
Can you caulk over existing old caulk, or does the old material have to come out first?
It has to come out. This is the rule people most often ignore. If you apply new caulk over old, you're relying on the adhesion of the old material to the substrate, not the new material. If that bond has failed, which is why you're recaulking in the first place, the new bead fails right along with it. Full removal is not optional for a repair that's going to last.
How long should professionally applied caulking last on an exterior window in Minnesota?
With the right product applied to a properly prepped surface, exterior silicone or polyurethane sealant should hold 10 to 20 years. Paintable latex acrylic on exterior surfaces will need attention sooner, typically 5 to 7 years in a climate with Minnesota's temperature swings. Low-grade caulk or poor application cuts that in half. The freeze-thaw cycle here is harder on sealants than in most of the country.
How do I know if my windows or doors need re-caulking before winter?
Run your hand around the interior perimeter of each window and door on a cold day when the wind is up. If you feel air movement, the exterior seal has failed or was never complete. Visually, look for cracking, gaps, separation from the frame or siding, or any place where the bead has pulled away. Discoloration or soft spots in adjacent wood trim often mean water has already been getting in.
Does air sealing with caulk actually reduce heating costs on an older home?
Yes, measurably. Older homes in Fridley and the surrounding north metro lose a significant amount of conditioned air through gaps at window and door perimeters, sill plates, and utility penetrations. These aren't insulation gaps; they're actual holes in the building envelope. Sealing them reduces infiltration, which directly reduces the heating load. It's not a dramatic single-fix, but combined with door weather stripping and proper window caulking, the cumulative effect shows up in utility bills.
What should I do after caulking is applied to help it last longer?
Give it time to cure before any water contact. Most products need at least 24 hours, and silicone typically needs 48. Don't paint over it until it's fully cured unless you're using a specifically paintable product. On exterior surfaces, keep sprinklers from hitting fresh beads. Inspect annually, especially after a hard winter. Catching a small separation early is a 15-minute repair. Waiting until water is coming through the wall is a different conversation.

Ready to Stop the Leaks

16 years of caulking and sealing work across Fridley and the north metro.

Related

Next step

Tell us about the job

Your name, your number and what needs doing. A person from Timberline Handyman Services gets back to you.

Rather talk now?(763) 213-5458

No obligation · Responds within 1 business day


By submitting this form you agree that we may contact you about your request and share your details with partner companies for marketing purposes.